
Master the Otto Button Sling: Adjustable Sling Knots & Tying Techniques. Expert Tips & Tricks for Perfect Adjustment Every Time!
The Otto Button Sling: A Comprehensive Guide to Tying and Using This Versatile Adjustable Sling
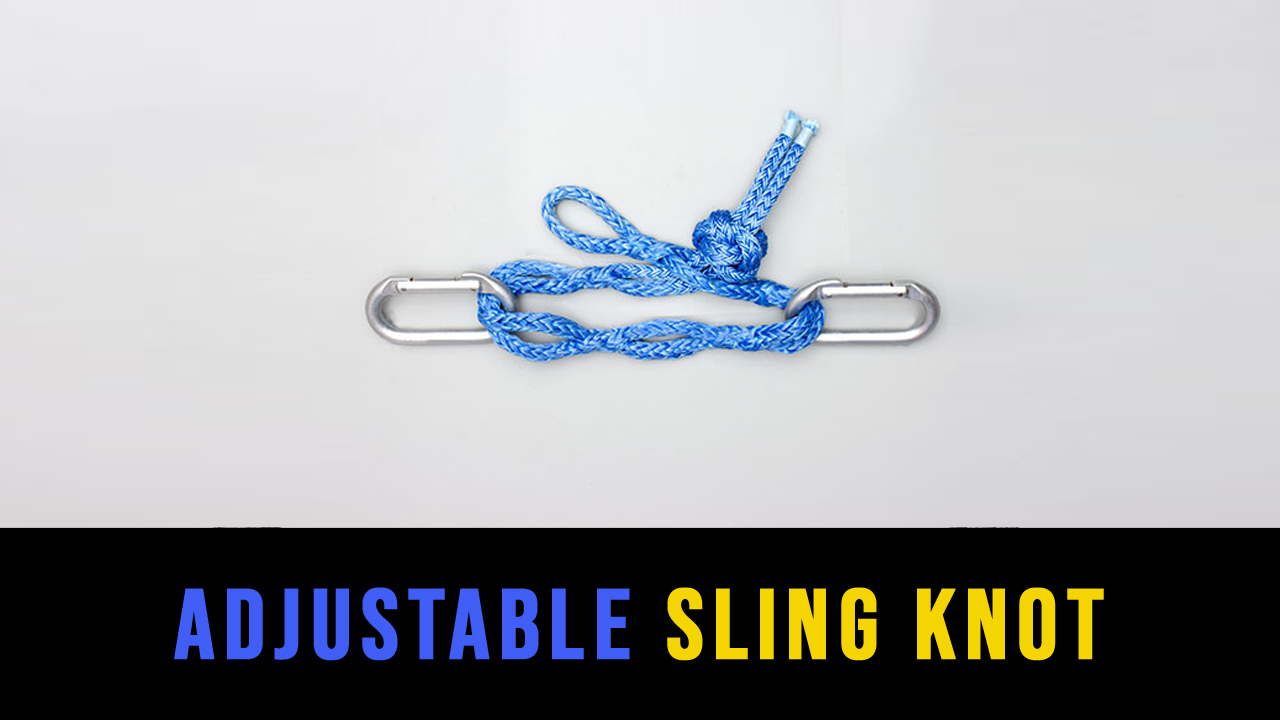
The Otto Button Sling, also known as an adjustable sling, is a remarkably strong and versatile piece of equipment prized by climbers, arborists, and anyone requiring a dependable adjustable loop. Its unique construction, relying on a series of interconnected Brummel knots, allows for precise length adjustment without compromising strength. This guide provides a detailed explanation of its construction, highlighting key techniques for optimal performance and safety. Always prioritize safety and inspect your sling meticulously before each use.
Understanding the Key Advantages of the Otto Button Sling
- Adjustable Length: The primary advantage is its adjustable nature, allowing you to perfectly fit the sling to your needs.
- Strength and Durability: When tied correctly, the Otto Button Sling boasts exceptional strength, rivaling or exceeding many other loop configurations.
- Ease of Adjustment: Adjusting the sling’s length is relatively quick and straightforward once you master the technique.
- Reduced Wear and Tear: The evenly distributed load minimizes wear and tear on the rope, extending its lifespan.
Essential Knots and Terminology: Before You Begin
Before embarking on tying an Otto Button Sling, familiarity with the following knots is crucial:
- Diamond Knot: This forms the foundation of the sling and provides a secure, symmetrical starting point. It’s crucial to ensure the knot is tightly tied and lies flat.
- Brummel Knot: This is the workhorse knot for creating the adjustable holes in the sling. Each Brummel knot forms a stable loop within the larger sling structure.
Step-by-Step Guide to Tying an Otto Button Sling
- Preparation: Begin by creating a line along the rope’s length. This prevents twisting and ensures even load distribution across the rope’s strands. Mark the rope at equal intervals (e.g., ten pick intervals) to aid in consistent knot placement.
- The Diamond Knot: Tie a secure Diamond Knot at one end of your rope. This knot will form the base of your sling. Ensure the knot is tightly cinched and lies flat.
- Creating the Brummels: This is where the precision comes in. The method below emphasizes using a fid (a tool to aid in knot tying), but Matthew’s alternative is also explained.
- Using a Fid: Insert the fid into the rope at your first mark. Create a Brummel knot, ensuring six strands of rope are on either side of the fid. Remove the fid and tighten the Brummel securely. Repeat this process at each marked interval, creating a series of Brummels that form the adjustable holes in your sling.
- Matthew’s Fid-less Method: Taper one end of your rope, carefully wrapping the tapered end with tape for added strength and smoothness. Thread this tapered end through the rope to create each Brummel, counting to ensure six strands on each side as you would with a fid. This method requires practice to achieve consistent results.
- Testing the Knots: After tying a few Brummels, test the Diamond Knot to ensure it passes smoothly through each newly formed hole. This verifies the correct spacing and knot integrity.
- Final Adjustments: Once all Brummels are tied, carefully check for any loose strands or uneven tension. Adjust as necessary to ensure a smooth, symmetrical sling.
Safety Considerations and Maintenance
- Regular Inspection: Regularly inspect your sling for any signs of wear, abrasion, or damage before each use. Replace the sling immediately if any issues are found.
- Load Limits: Never exceed the recommended load limit of your rope. This information is usually printed on the rope itself.
- Proper Technique: Ensure you understand and follow the tying instructions precisely. Improper tying can significantly compromise the sling’s strength and safety.
- Storage: Store your sling in a dry, clean place away from direct sunlight and harsh chemicals.
Related Knots: Expanding Your Knowledge
While the Otto Button Sling relies heavily on the Diamond and Brummel knots, understanding other essential knots will enhance your ropework skills:
- Figure Eight Knot: Used for creating a secure loop at the end of a rope.
- Bowline Knot: A versatile knot used for creating a fixed loop at the end of a rope.
By understanding these knots and following the detailed steps outlined above, you can confidently tie and utilize the Otto Button Sling for your various needs, always prioritizing safety and proper technique. Remember to practice to perfect your knot-tying skills.