
Master the Alpine Butterfly Bend Knot: Step-by-Step Guide for Knots, Including Expert Tips from a Knot Master. Learn this essential knot today!
Mastering the Alpine Butterfly Bend: A Superior Knot for Joining Ropes
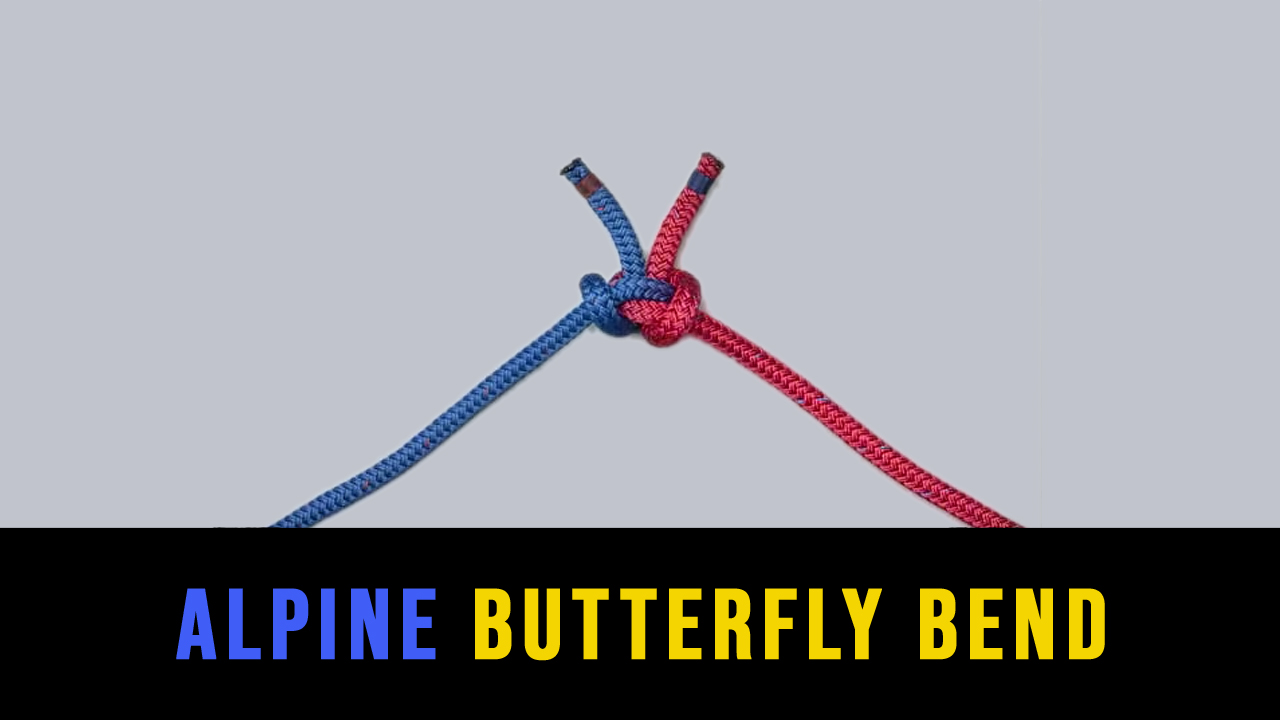
The Alpine Butterfly Bend is a strong and reliable knot ideal for joining two ropes of similar diameter. Unlike some other joining knots, it’s relatively easy to learn and tie, even under pressure. This detailed guide will teach you our preferred method, emphasizing clarity and ease of execution. This method improves upon other “hand-winding” techniques by clearly identifying the knot’s central point and the area for tucking, resulting in a secure and efficient join.
Why Choose the Alpine Butterfly Bend?
The Alpine Butterfly Bend offers several advantages over other rope joining methods:
- Strength: It provides a high strength-to-weight ratio, making it suitable for various applications.
- Ease of Tying: Our simplified method makes it quick and easy to learn, even for beginners.
- Easy Inspection: The knot’s structure allows for straightforward inspection before and after use, ensuring its integrity.
- Relatively Small Size: It creates a compact join, minimizing bulk and snagging.
How to Tie the Alpine Butterfly Bend (Our Improved Method)
This step-by-step guide will walk you through our simplified method:
- Overlap the Ropes: Overlap the two ropes you wish to join, keeping the working ends of the ropes facing away from each other. Ensure both ropes are the same or similar diameter. A mismatched diameter will weaken the knot.
- The First Loop: Take the right rope and form a loop around the left rope, passing it under and then over the left rope. Ensure the loop is approximately the same size as the ropes’ diameter.
- The Second Loop: Now, take the left rope and create a similar loop around the right rope, mirror of step 2, passing under and then over the right rope. Again, this loop should also roughly match the rope diameter.
- Interlocking the Loops: Carefully tuck the two loops into each other. This creates the “butterfly” effect of the knot. Note the point of intersection, this is the centre point for the next steps.
- Securing the Knot: The key to this method is locating the central point where the loops intersect. Next, we’ll focus on creating symmetrical loops around this junction. Gently push one loop partially into the other. Take the end of one rope and carefully tuck it into the opposite side’s loop. Then repeat with the other rope’s end, tucking it symmetrically into the other side’s loop. This creates a strong and secure locking mechanism.
- Tightening: Gently tighten the knot by pulling on both standing ends of the ropes. Avoid jerking; instead, apply a slow, steady pull to ensure the knot is snug and evenly distributed.
- Final Inspection: Before using the rope, carefully inspect the knot to ensure that the loops are securely intertwined and there are no loose strands.
Related Knots and Their Comparison
While the Alpine Butterfly Bend is a strong and reliable option, it’s useful to understand other joining knots and their strengths and weaknesses:
- Reef Knot: Simple to tie, but prone to slipping under load, especially with unequal diameter ropes. Not recommended for critical situations.
- Sheet Bend: A versatile knot capable of joining ropes of differing diameters but requires more careful tying to avoid slipping.
- Figure Eight Follow Through: Not a joining knot, but useful for creating a secure loop at the end of a rope.
The Alpine Butterfly Bend, when tied correctly using the method described above, provides a robust and reliable solution for joining ropes. Its ease of tying, strength, and simple inspection make it a valuable knot for various applications, from climbing to general rope work. Remember always to prioritize safety and practice tying the knot several times before using it in a critical situation. Ensure you understand the limitations and potential risks associated with any knot before relying on it for load-bearing activities.